How to Cash Out of Axie Infinity with Only an Android Phone! (13 Steps)
Disclaimer
This article was published on July 6, 2021. Please keep in mind that some of the data in this article may be outdated as of today.
Most Axie Infinity users and players use their desktop browsers to cash out their SLP earnings because there isn’t a mobile version of MetaMask or Ronin yet.
In this article, you will find the way to use MetaMask and Ronin with only your android phone!
Some screenshots are taken from Kookoo Crypto’s YouTube video. Subscribe to his channel here to support him: https://www.youtube.com/channel/UCzC09lbawt9ThVLPm9Rjh3A
Part 1: Creating your MetaMask and Ronin Wallet
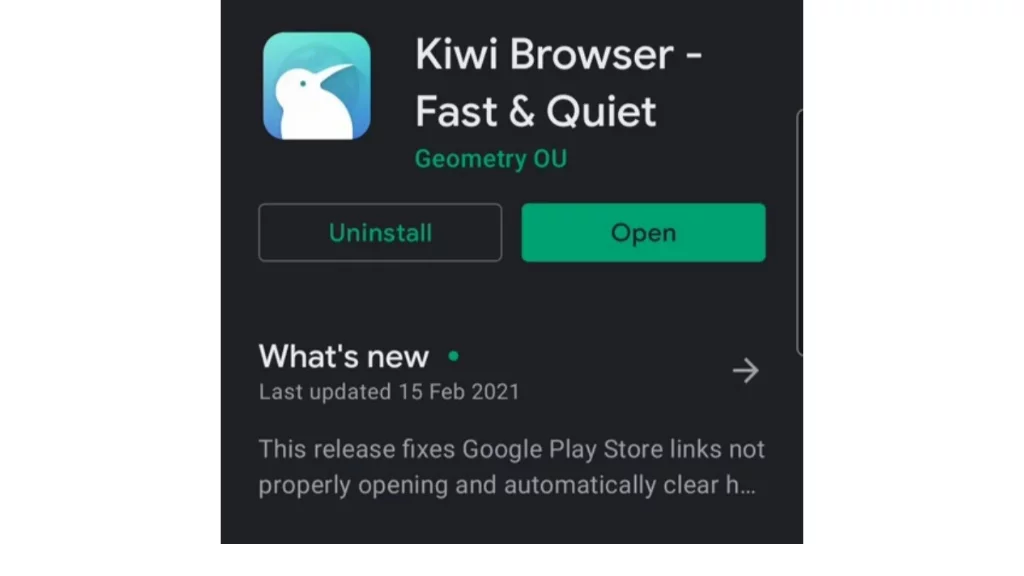
Step 1: Download and Install Kiwi Browser in Google Play Store
Step 2: Add the MetaMask Extension

Open your Kiwi Browser and go to Google Chrome Web Store. Search for MetaMask and click “Add to Chrome”.
Step 3: Create Your MetaMask Account
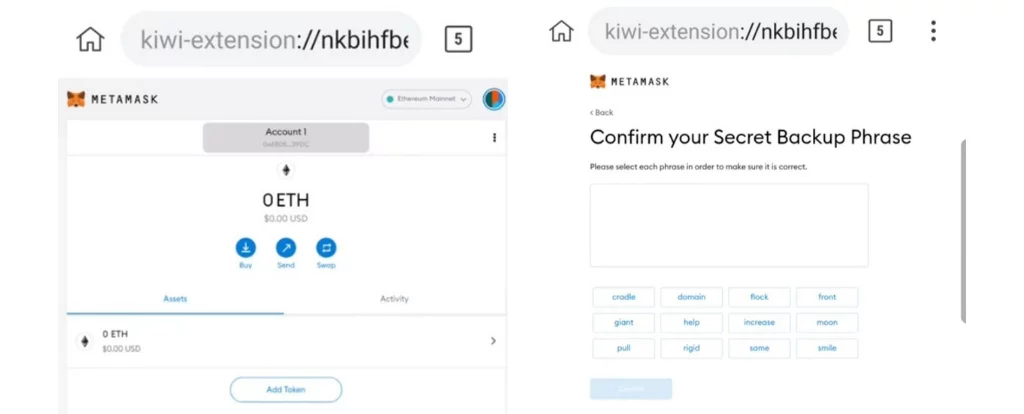
- Click the 3 vertical dots on the upper right corner of your Kiwi Browser. Click desktop site to have a wider view of the page, and open the MetaMask Extension.
- The page will ask you to choose between “Import Wallet” and “Create Wallet”. Choose “Create Wallet”.
- Create your password and then your seed phrase will appear. Copy your seed phrase and save it in a VERY safe location.
Important: DO NOT share your seed phrase with anyone, ever. Keep a secured copy of it in your phone or write it down on a secured note.
Confirm the seed phrase. You will be asked to arrange the phrase in order. Click confirm and you are all done!
Step 4: Add the Ronin Wallet Extension

Do the same process with that of MetaMask: Add to Chrome, create new account, and confirm seed phrase.
Step 5: Link your MetaMask and Ronin Wallet to your Axie Infinity account.
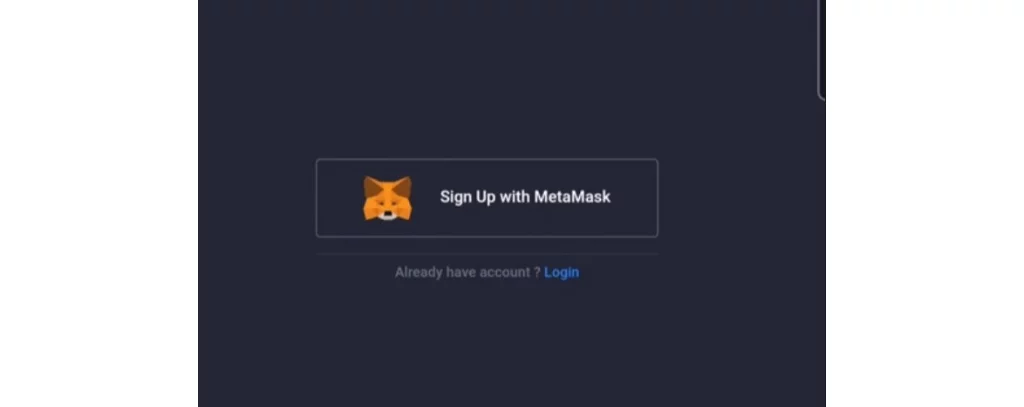
Using your Kiwi Browser, go to the Axie Infinity website (www.axieinfinity.com). Click the hamburger button on the upper right corner and select Marketplace. Then, in the upper right hand, click Login.
Click “sign up” and then Sign up with your Ronin Wallet. It will automatically connect to your Ronin extension. Click “Next” and then click “Connect”.
Set your email and password in Axie Infinity.
Note: Keep the password, seed phrase, and account address of your MetaMask and Ronin Wallet in one place. So, if ever you forget any of them, you are can easily go to your secured copy and come back to your account safely.
Part 2: Cash out!
The job of claiming Smooth Love Potions (SLPs) can only be done by Axie Infinity account owners, which are the scholarship managers. So, if you are a scholar, you cannot see any claimable SLPs unless it’s time for your manager to claim your earned SLPs for you.
Suppose that you have already been given your claimed SLP, these are the next instructions to follow in order to cash out:
- Step 1: Make sure that your Ronin and MetaMask wallets are both “logged in” on your Kiwi Browser. Login to your Axie Infinity account using your Ronin Wallet.
- Step 2: Click “Claim Tokens” (claimable) in your Axie Infinity account and confirm. Your claimable SLP must be transferred into your Ronin wallet. This may take a few minutes.
- Step 3: In your Axie Infinity account, go to “Bridge” and select “Withdraw”. Then, go to your MetaMask and copy and paste your Ethereum wallet address as the recipient in the withdrawal section. Click “Asset” and select SLP. Enter the amount of SLP you wish to transfer then click “Next” and confirm your transaction. Your Ronin wallet will ask you to confirm transaction as well. This will take a few minutes. Click “Confirm Through MetaMask” and your MetaMask will appear. Click “Confirm” and your withdrawal is done!
Note: You need some ETH in your MetaMask for the gas fee. You can trace your gas fee transactions in axie.live
You will see the orange-colored “pending withdrawal” notice after this. DO NOT click and confirm. This will double your gas fee. Check your MetaMask to see if the transferred SLP has arrived from your recent transaction.
Step 4: Go to your Binance account. If you do not have Binance account yet, download the app in Google Play Store and sign up. Make sure to verify your account in order to enable trading. In your Binance account, go to the “Wallets” tab found on the lower right hand corner and select Spot. Search “SLP” and click “Deposit”.
Step 5: Go to MetaMask. Click “Send” and paste your SLP address. Click “MAX” (Maximum amount of your SLP) under the “Amount” tab (If you wish to withdraw all your claimable SLP). Click “Send”, then “Confirm”.
You will see under your “Recent Deposit History” that your transaction is “Confirming”. Refresh the page and you should see that your SLP is already available in your Binance.
Step 6: Trading your SLP. Click the “Trade” tab and then click SLP/USDT. You will see the “Assets” (Buy with PHP) and under it, you will see the SLP available and the USDT available. Go to the “Sell” tab and click “Market”. Drag the line found under the “amount tab” from 0% to 100%. Then click the “Sell” button and your SLP will be sold. Go to your “Older History” to see the total amount of SLP you have sold.
Step 7: Go to the “Wallet” tab again and select “Spot” in your Binance account. You can now see your available USDT. Click the “Transfer” tab found in the upper right of the screen next to buy and sell. Set the transfer as “From Spot to P2P Wallet” by clicking the little flip arrow on the right. Change BTC underneath to USDT then click MAX under the Amount tab. Click “Confirm”.
Step 8: Go to the P2P tab which is found on the upper right-hand corner. Select “Sell” in the middle of buy and transfer. In the top right corner, you will see a currency displayed, click that to change the currency to your countries native currency. Then, insure you have selected “Sell” and not “Buy” for your transaction method. Then select the “USDT” option underneath sell and then select “All” to see the amount of your native currency you will receive. Click “Sell with 0 Fee”. Select which method you wish to receive your native currency and then confirm sale. You will be redirected to a page where you can see a chat box with your buyer. In the same page you will find a timer for the payment to be made by buyer. Patiently wait.
Important: NEVER click the “Confirm Release” if you have not yet checked your bank account (or whatever your payment method is) to verify if the buyer has already sent his payment. Do not easily believe screenshots as proof of payment of the buyer. Make sure to verify his payment in your bank account. Once you have confirmed that the payment has been successfully received with correct amount and sender information in your bank account, you may now click “Confirm Release”. A Security Verification will pop up. Get a verification code sent to your phone number and then submit.
You are now done! Your money is now stored in your own local bank account or online wallet in your country’s currency.


