How to Create Polygon Wallet Using MetaMask?
Disclaimer
This article was published on October 5, 2021. Please keep in mind that some of the data in this article may be outdated as of today.
Polygon serves the blockchain industry with cheaper transaction fees. If you wish to learn more about creating a Polygon Wallet and start saving some dollars on gas fees, then this is the article for you!
What is Polygon?
Polygon is a sidechain scaling solution for public blockchains. It supports all the existing Ethereum tooling along with faster and cheaper transactions. It also provides tools to create scalable decentralized applications (dApps). dApps prioritize performance, user experience (UX), and security for developers.
Now to create your Polygon Wallet, simply follow the steps outlined below:
Step 1: Create your MetaMask Wallet
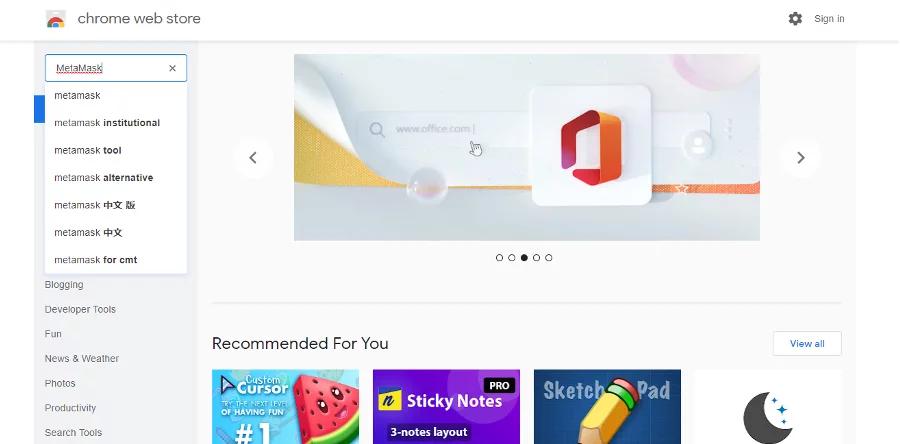
a. Go to Google Chrome Web Store and Search for MetaMask
b. Add the MetaMask Extension by clicking “Add to Chrome”
c. Create Your MetaMask Account
-
- The page will ask you to choose between “Import Wallet” and “Create Wallet.” Choose “Create Wallet.”
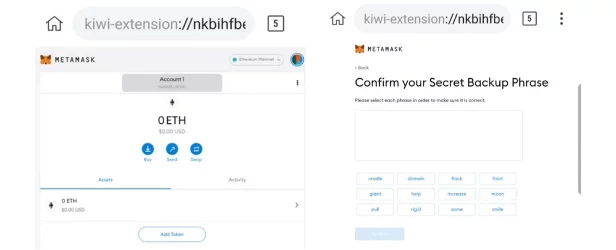
- Create your password, and then your secret recovery phrase will appear. Copy your seed phrase and save it in a VERY safe location.
- Confirm the seed phrase. You will be asked to arrange the phrase in order. Click confirm, and you are all done!
Important: DO NOT share your seed phrase with anyone, ever. Keep a secured copy of it in your phone or write it down on a secured note.
Step 2: Add the Matic Mainnet on your Networks
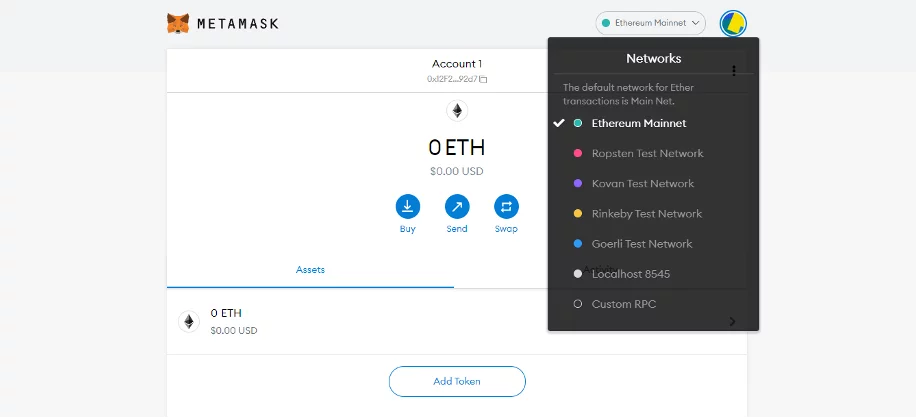
To do this, click on the “Ethereum Mainnet” found on the upper right-hand of your screen. The available networks will appear. Click “Custom RPC” to create your Polygon Mainnet.
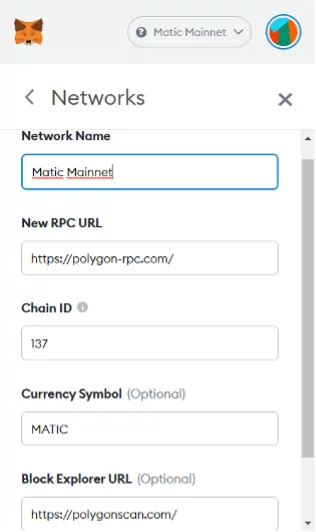
Then, this page will appear. Fill in the required information exactly how it’s shown below:
After typing in the required information, click “Save.” You now have your Polygon Mainnet!
Step 3: Create your Polygon Wallet
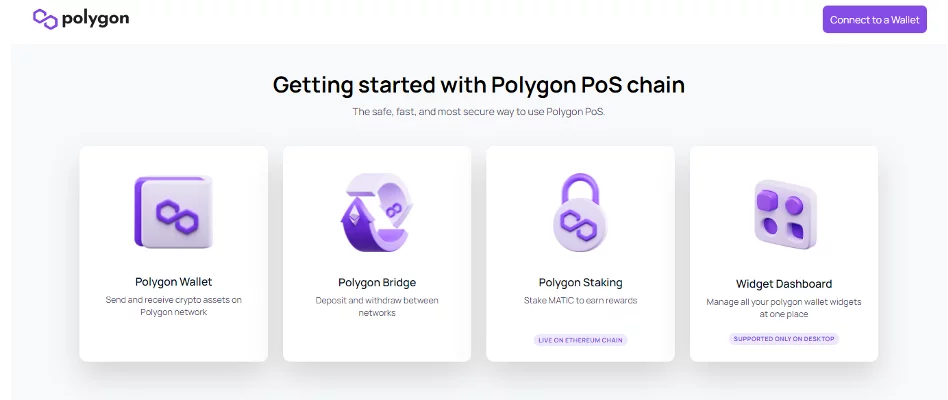
Using the same browser, go to https://wallet.polygon.technology/ and click on “Polygon Wallet.”
Then, choose MetaMask.
A Signature Request from your MetaMask will pop up. Click “Sign.”
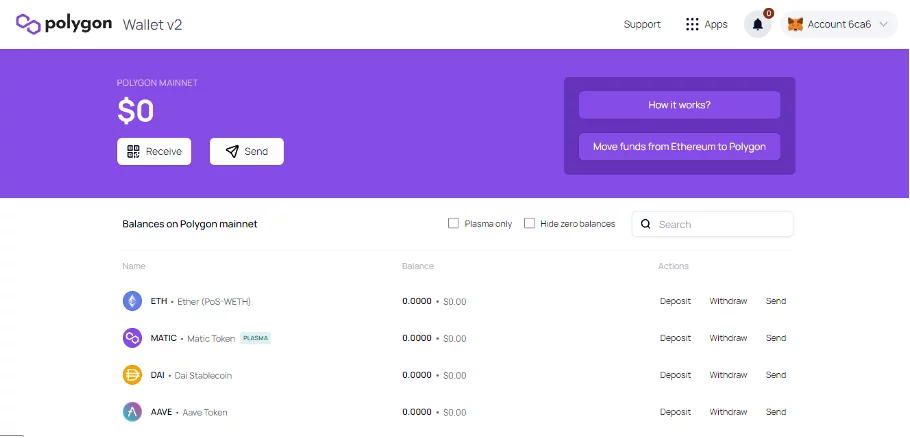
Once you have signed it, you will be redirected here:
Click the” Polygon Wallet” to complete the process and create a Polygon Wallet. Now you can send and receive cryptocurrencies using your Polygon Wallet!
Note that from your Polygon Wallet, you can access the other Polygon Apps by clicking the Apps icon found in the upper right-hand of your screen. As you can see in the photo below, the other apps you can navigate in the Polygon Chain are the Polygon Bridge, Staking, Widget Dashboard, and Swap for Gas. More tutorials about using these Apps will be up soon! Make sure to check it out here on our website to get them.

Remember to connect with us on social media, and always check in at P2ENews.com to stay updated on the latest news, leaks, and tutorials of your favorite play-to-earn games!


